Ayanza Poster Project
wanted to make a large Ayanza poster that we could hang in the office. He bought supplies — a bunch of polystyrene boards, spray paint, and LED (‼️) strips. I immediately jumped on this project because it fits a lot of my interests and hobbies! Here's a little sneak peak behind the scenes of how I made the large Ayanza star poster.
First,
printed a large Ayanza star logo and split it into 12 A4 sheets. It turned out great, we cut it together and then glued the papers into a large template with
.
There was just one problem. The printer had small margins around the border of the paper. It did not scale the image but cut from it, so in the end, when we were gluing the whole template together, its parts did not align very well.
In my workshop, I used the outline of the template to cut the initial star shape. Then I painted it with the orange spray paint.
I then cut the black parts out of the paper template and used it to spray paint the black parts. This, however, ended up looking terrible because the black spray paint got under the paper in a few places. 😵💫 Lesson learned.
As a fix, I covered the dark areas manually with painters tape, bought new orange paint, and then repainted the orange area. That made it look a little better. Next time, however, I would probably do these sort of details manually with a brush.
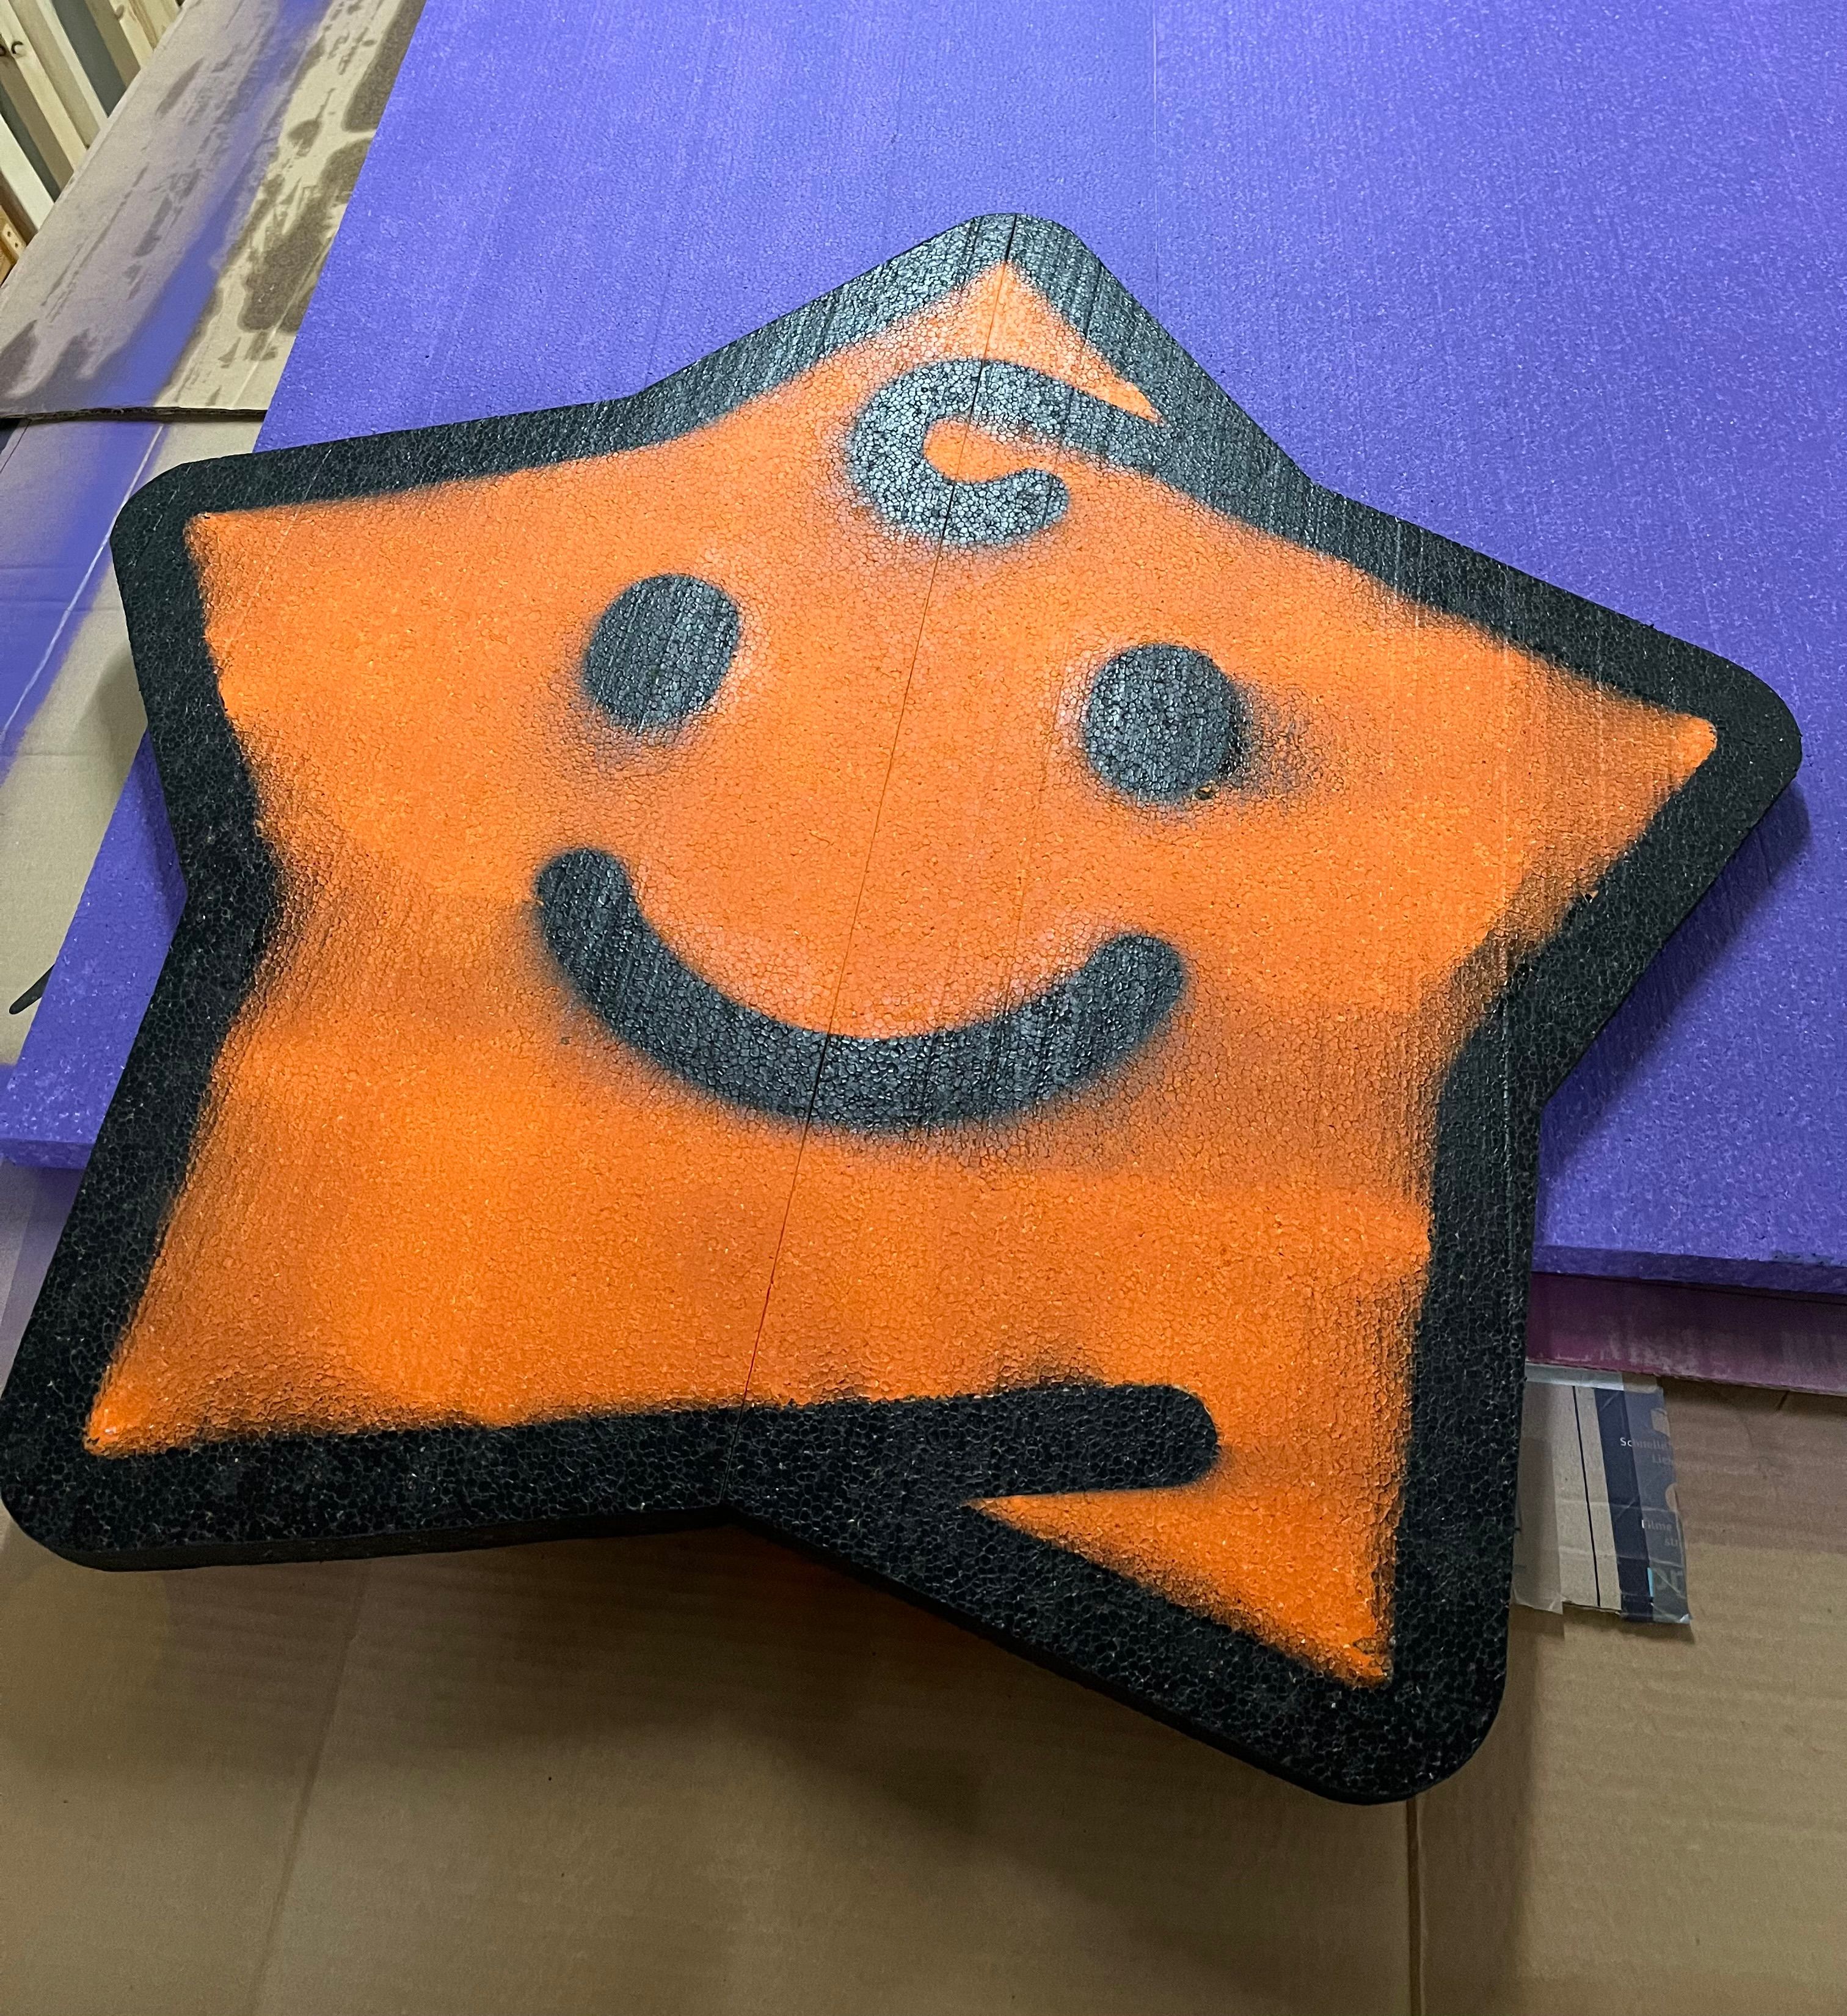
Here’s the star after the first painting. Notice that the black paint leaked under my paper template and messed up the orange fill.

Preparing to repaint the orange parts.
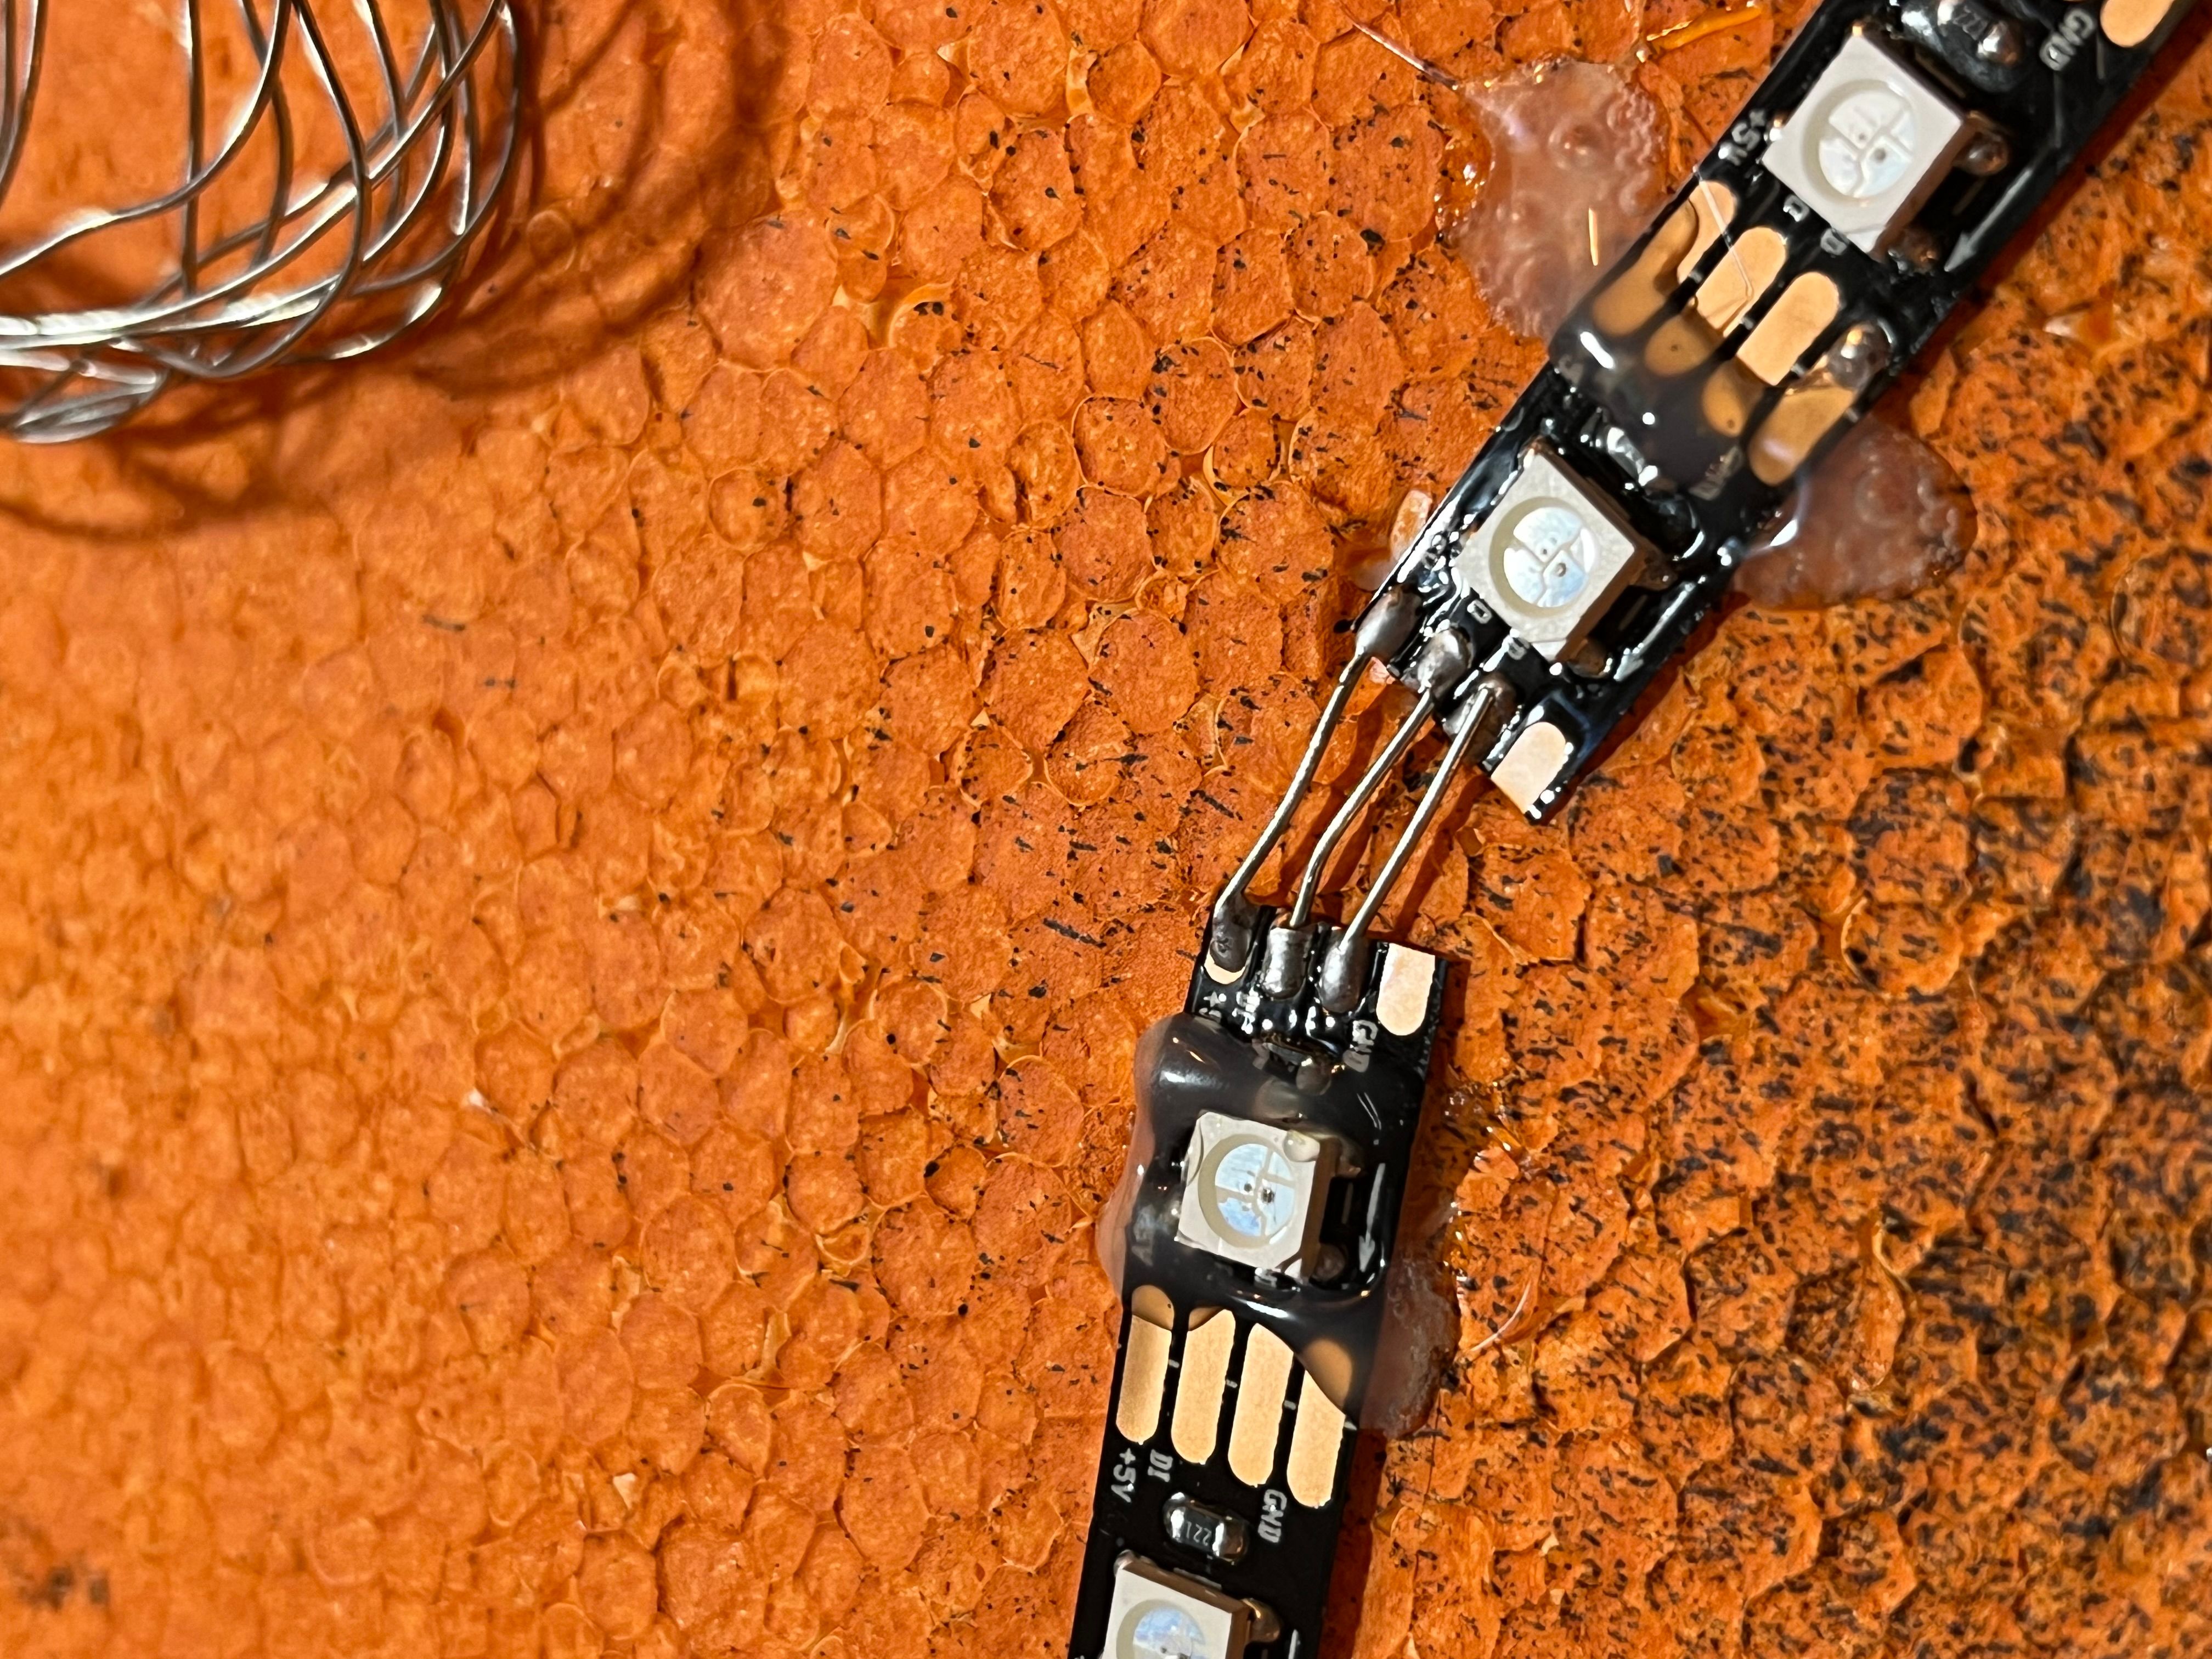
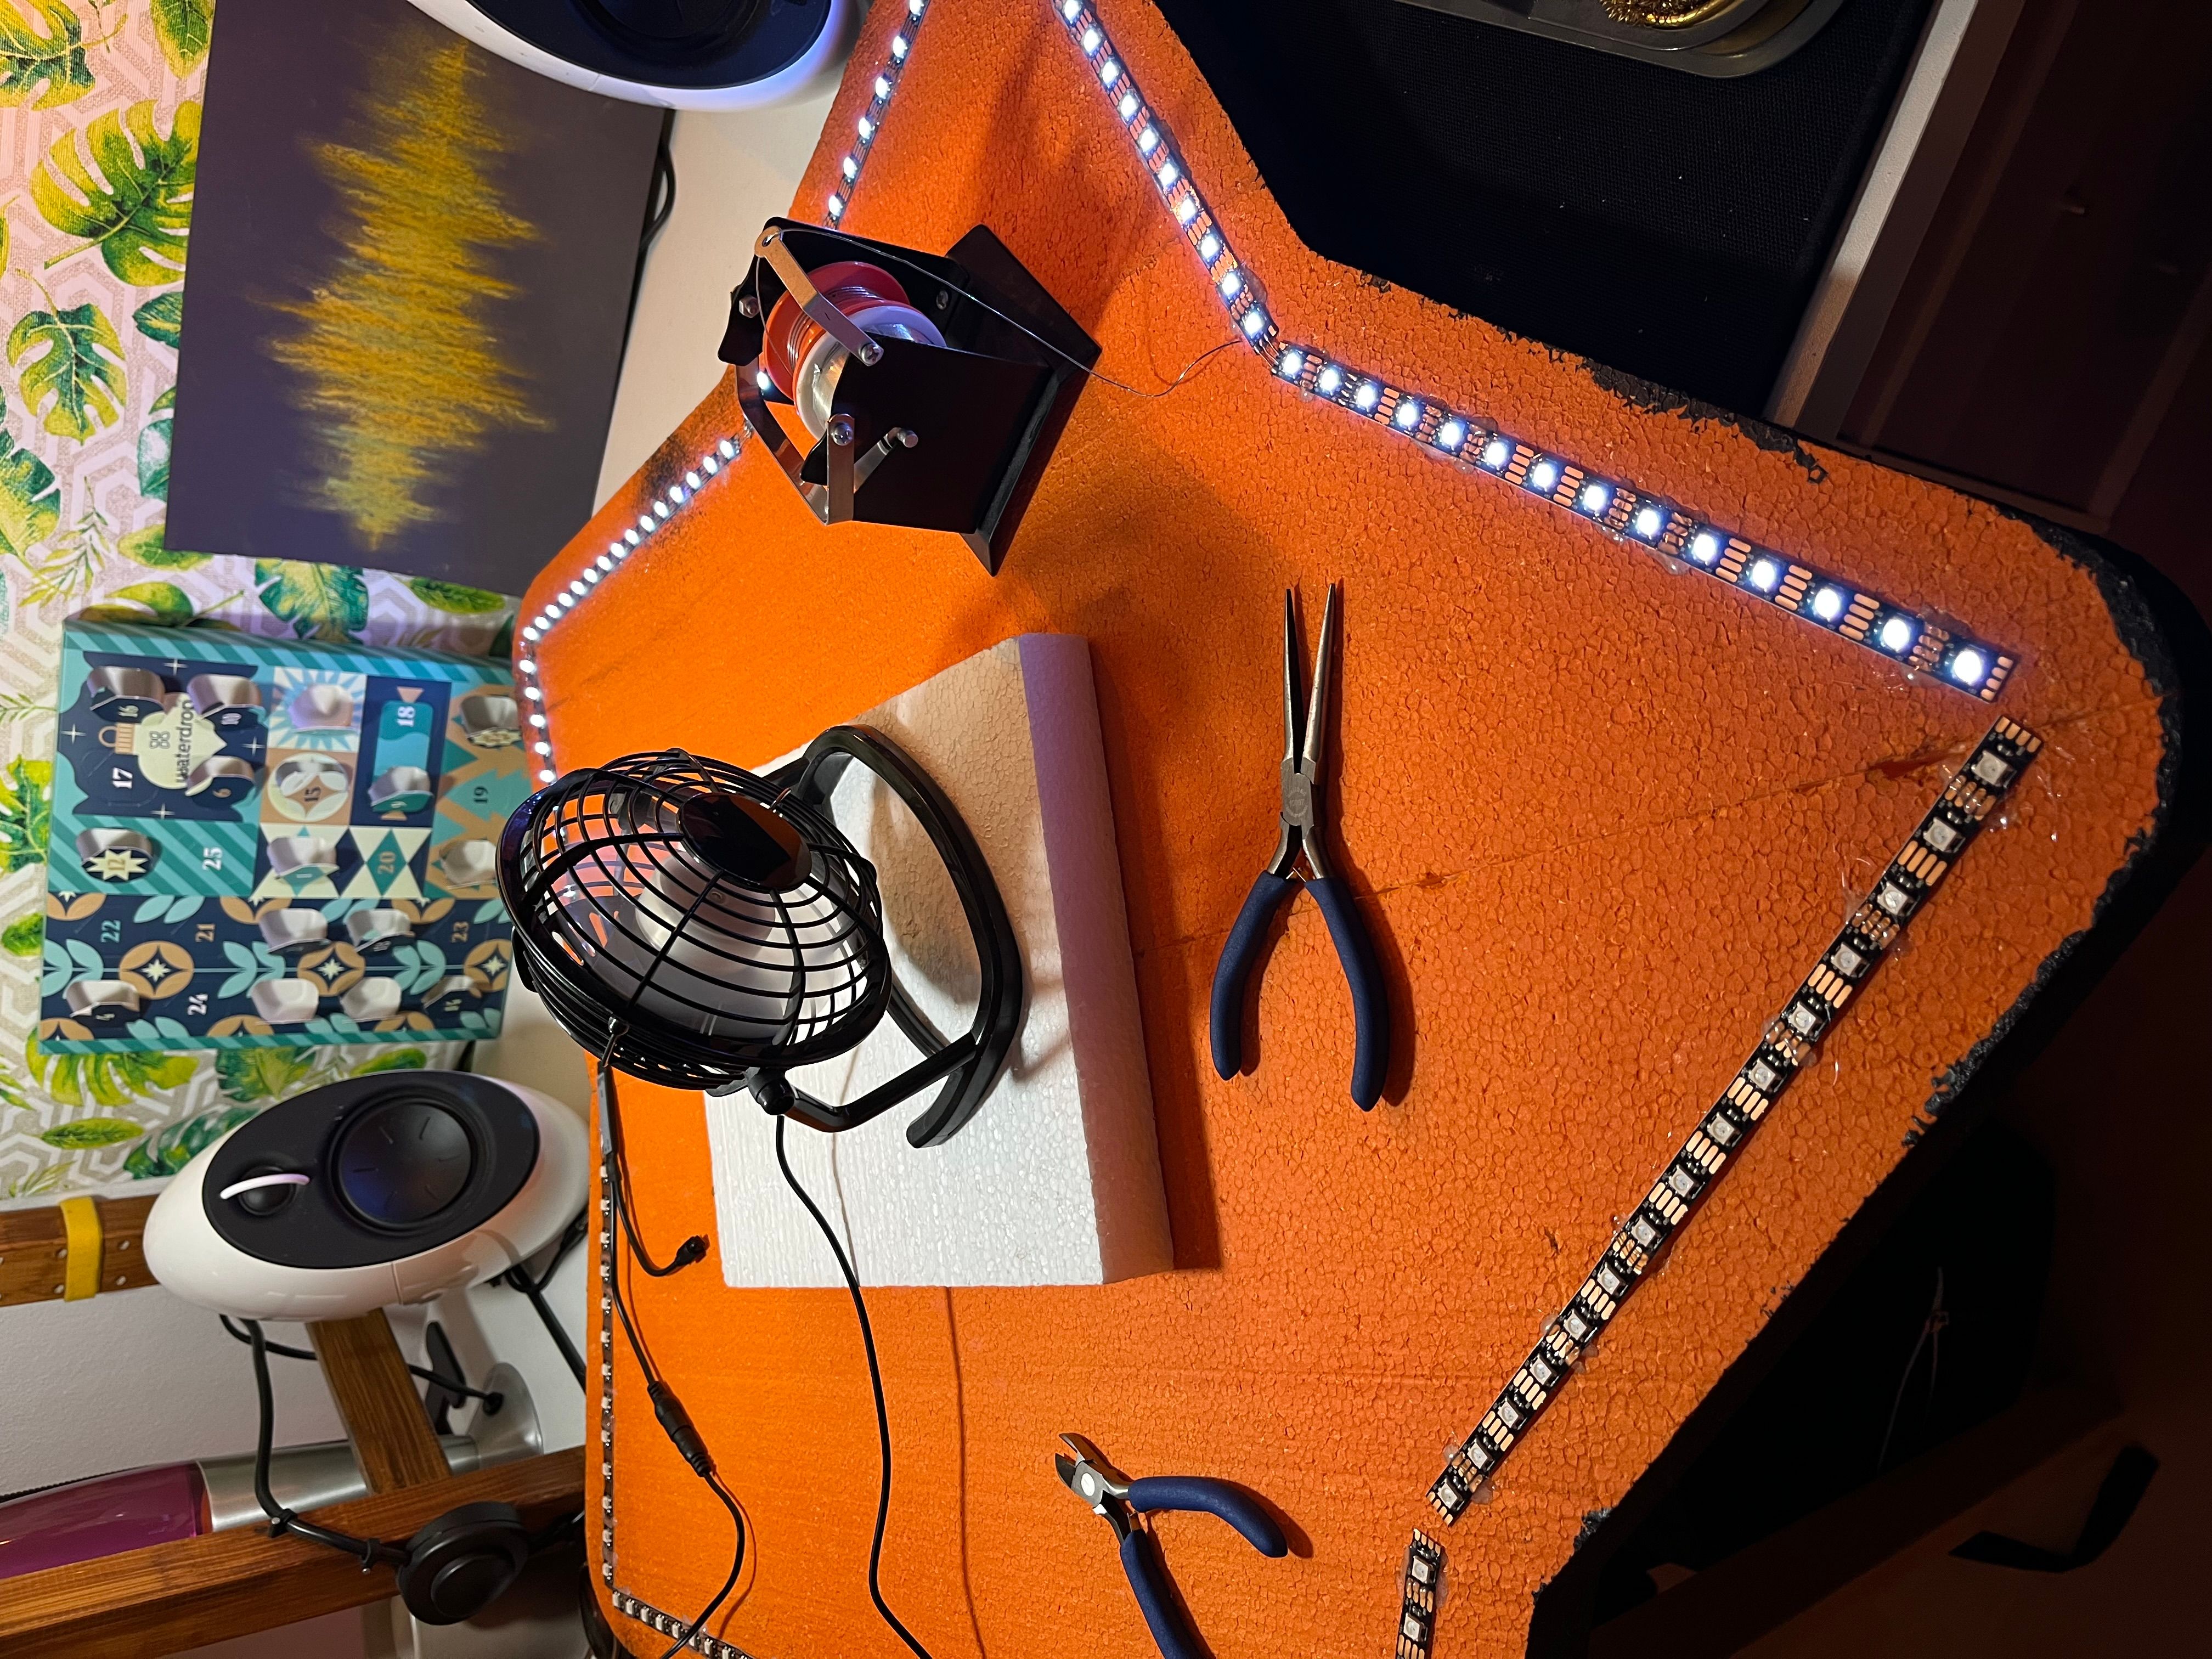
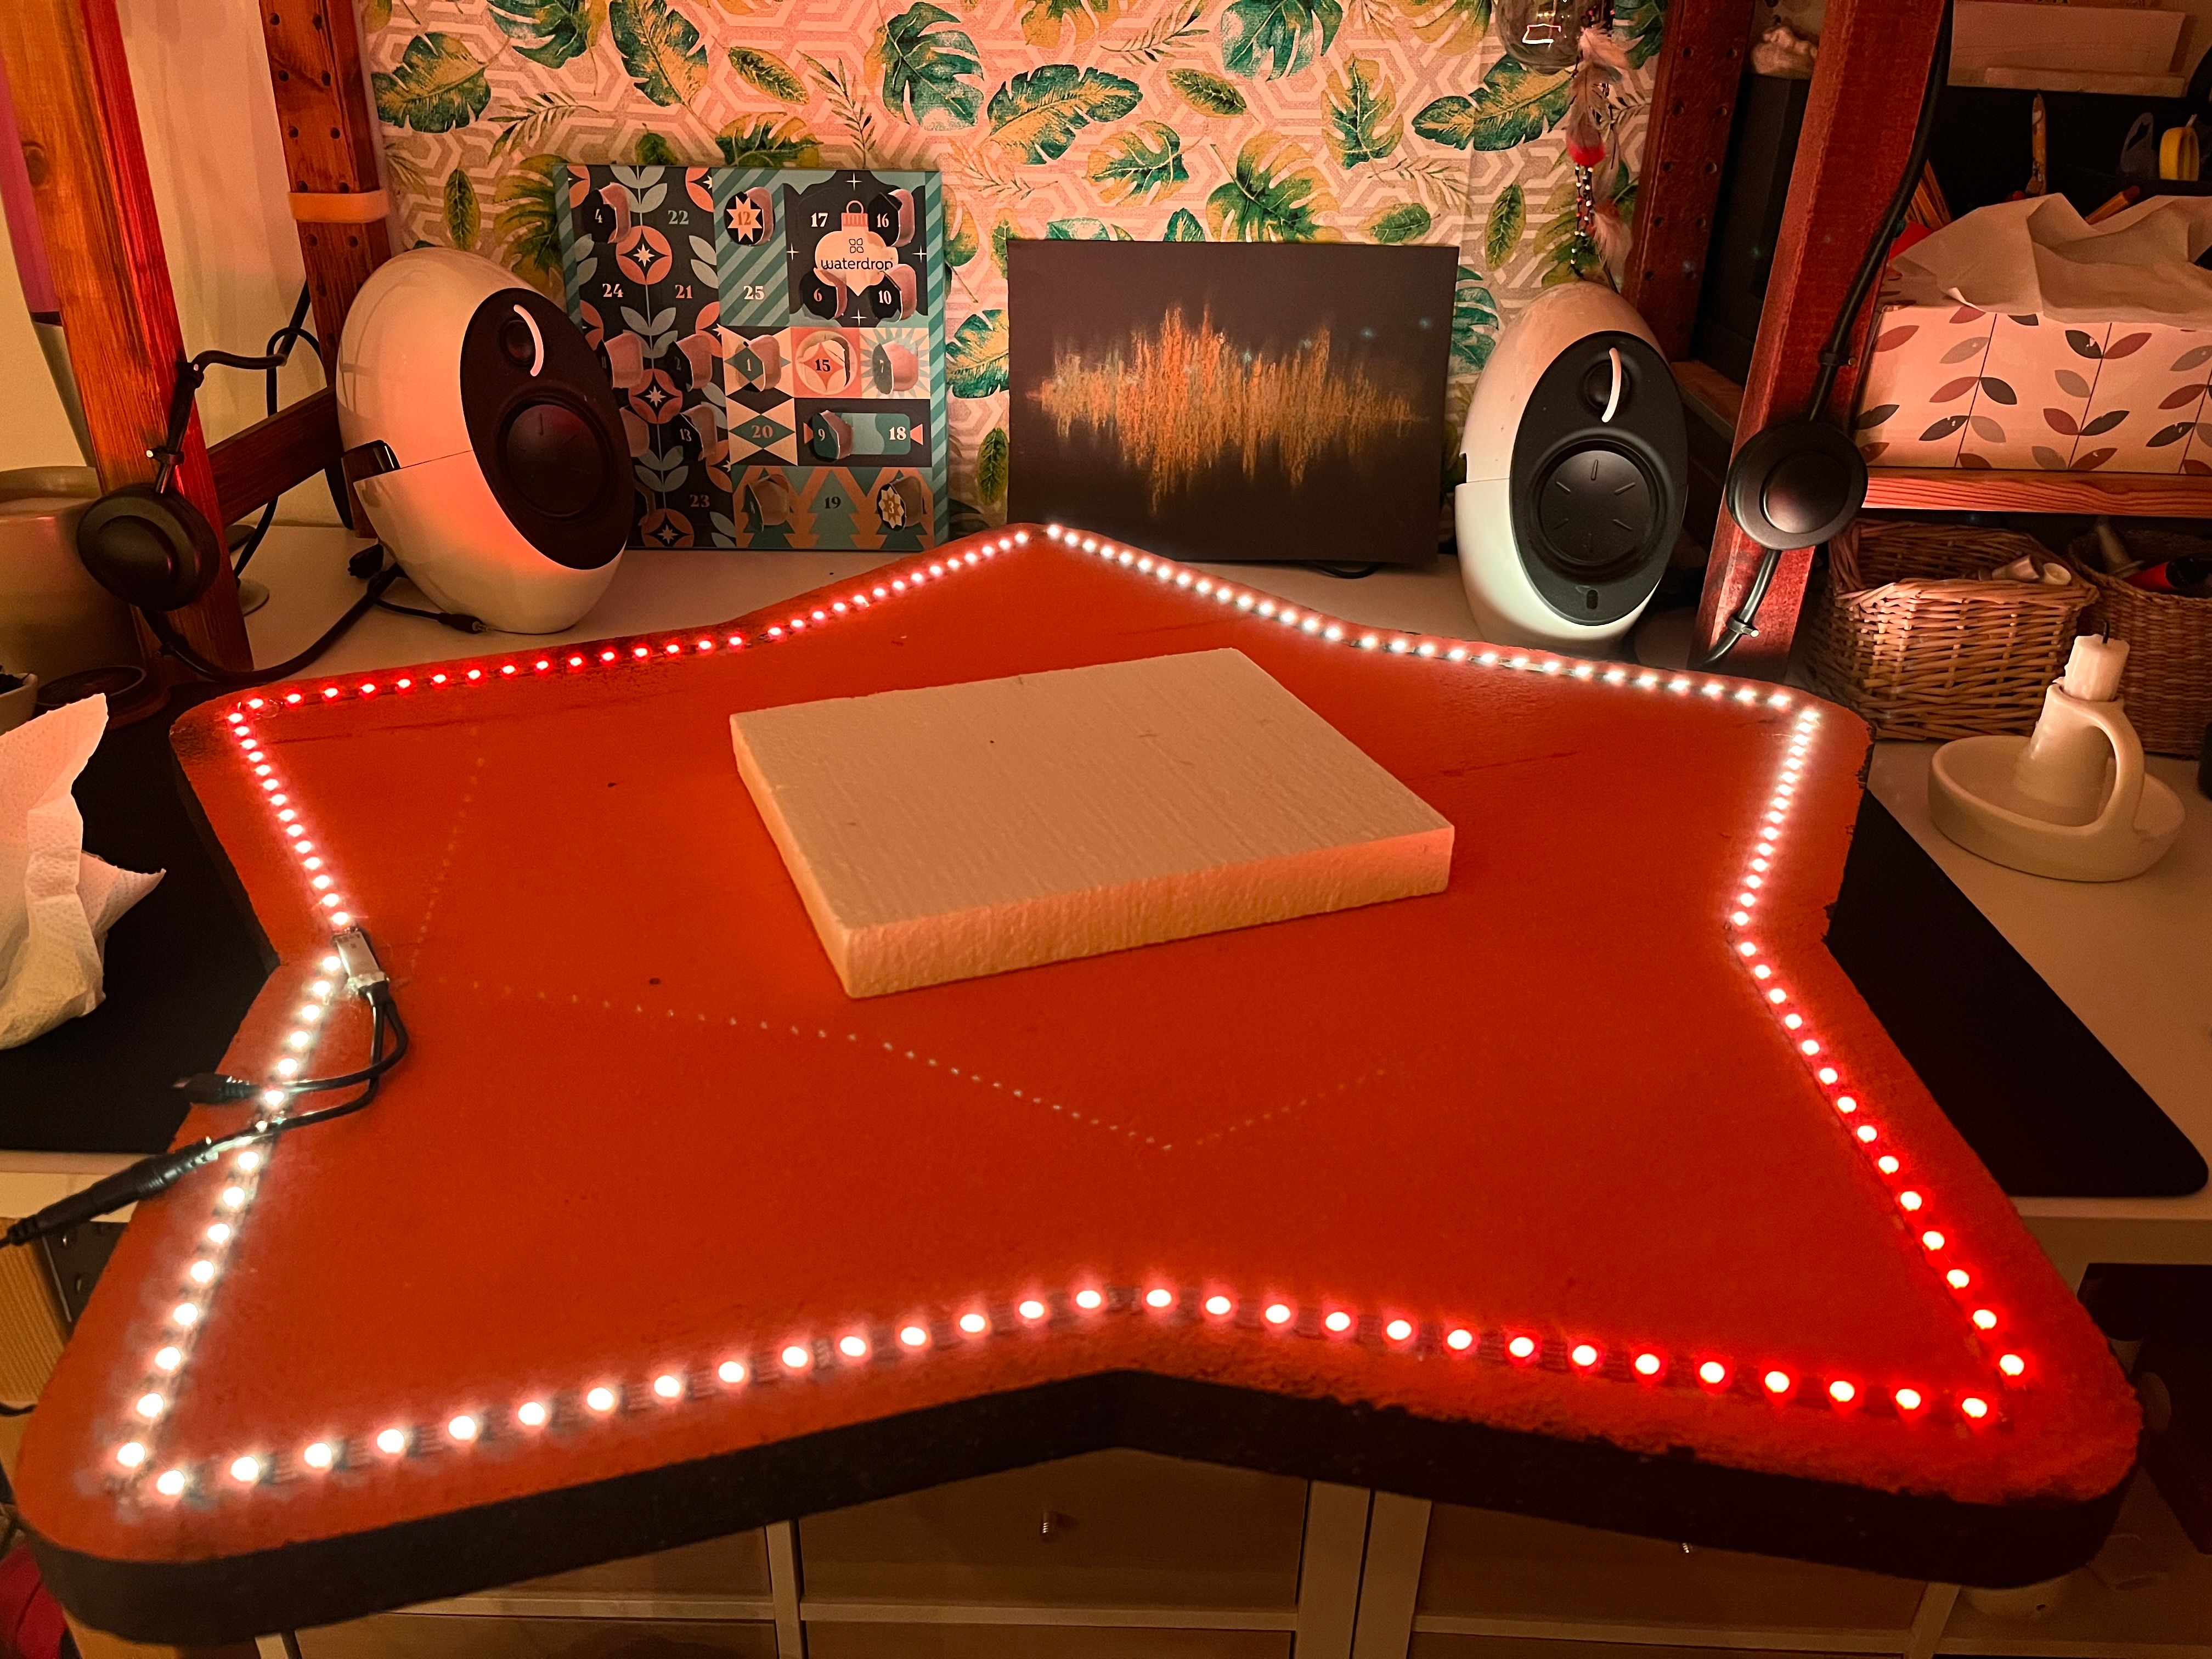
Finally, after the paint dried, I brought the star home and started installing the LED strip. I cut it into 10 pieces to cover the edges of the star and glued it in place using a hot glue gun (I later discovered that the LED strip already has glue on it 🤦). I also glued a single smaller piece in the middle to act as a spacer block.
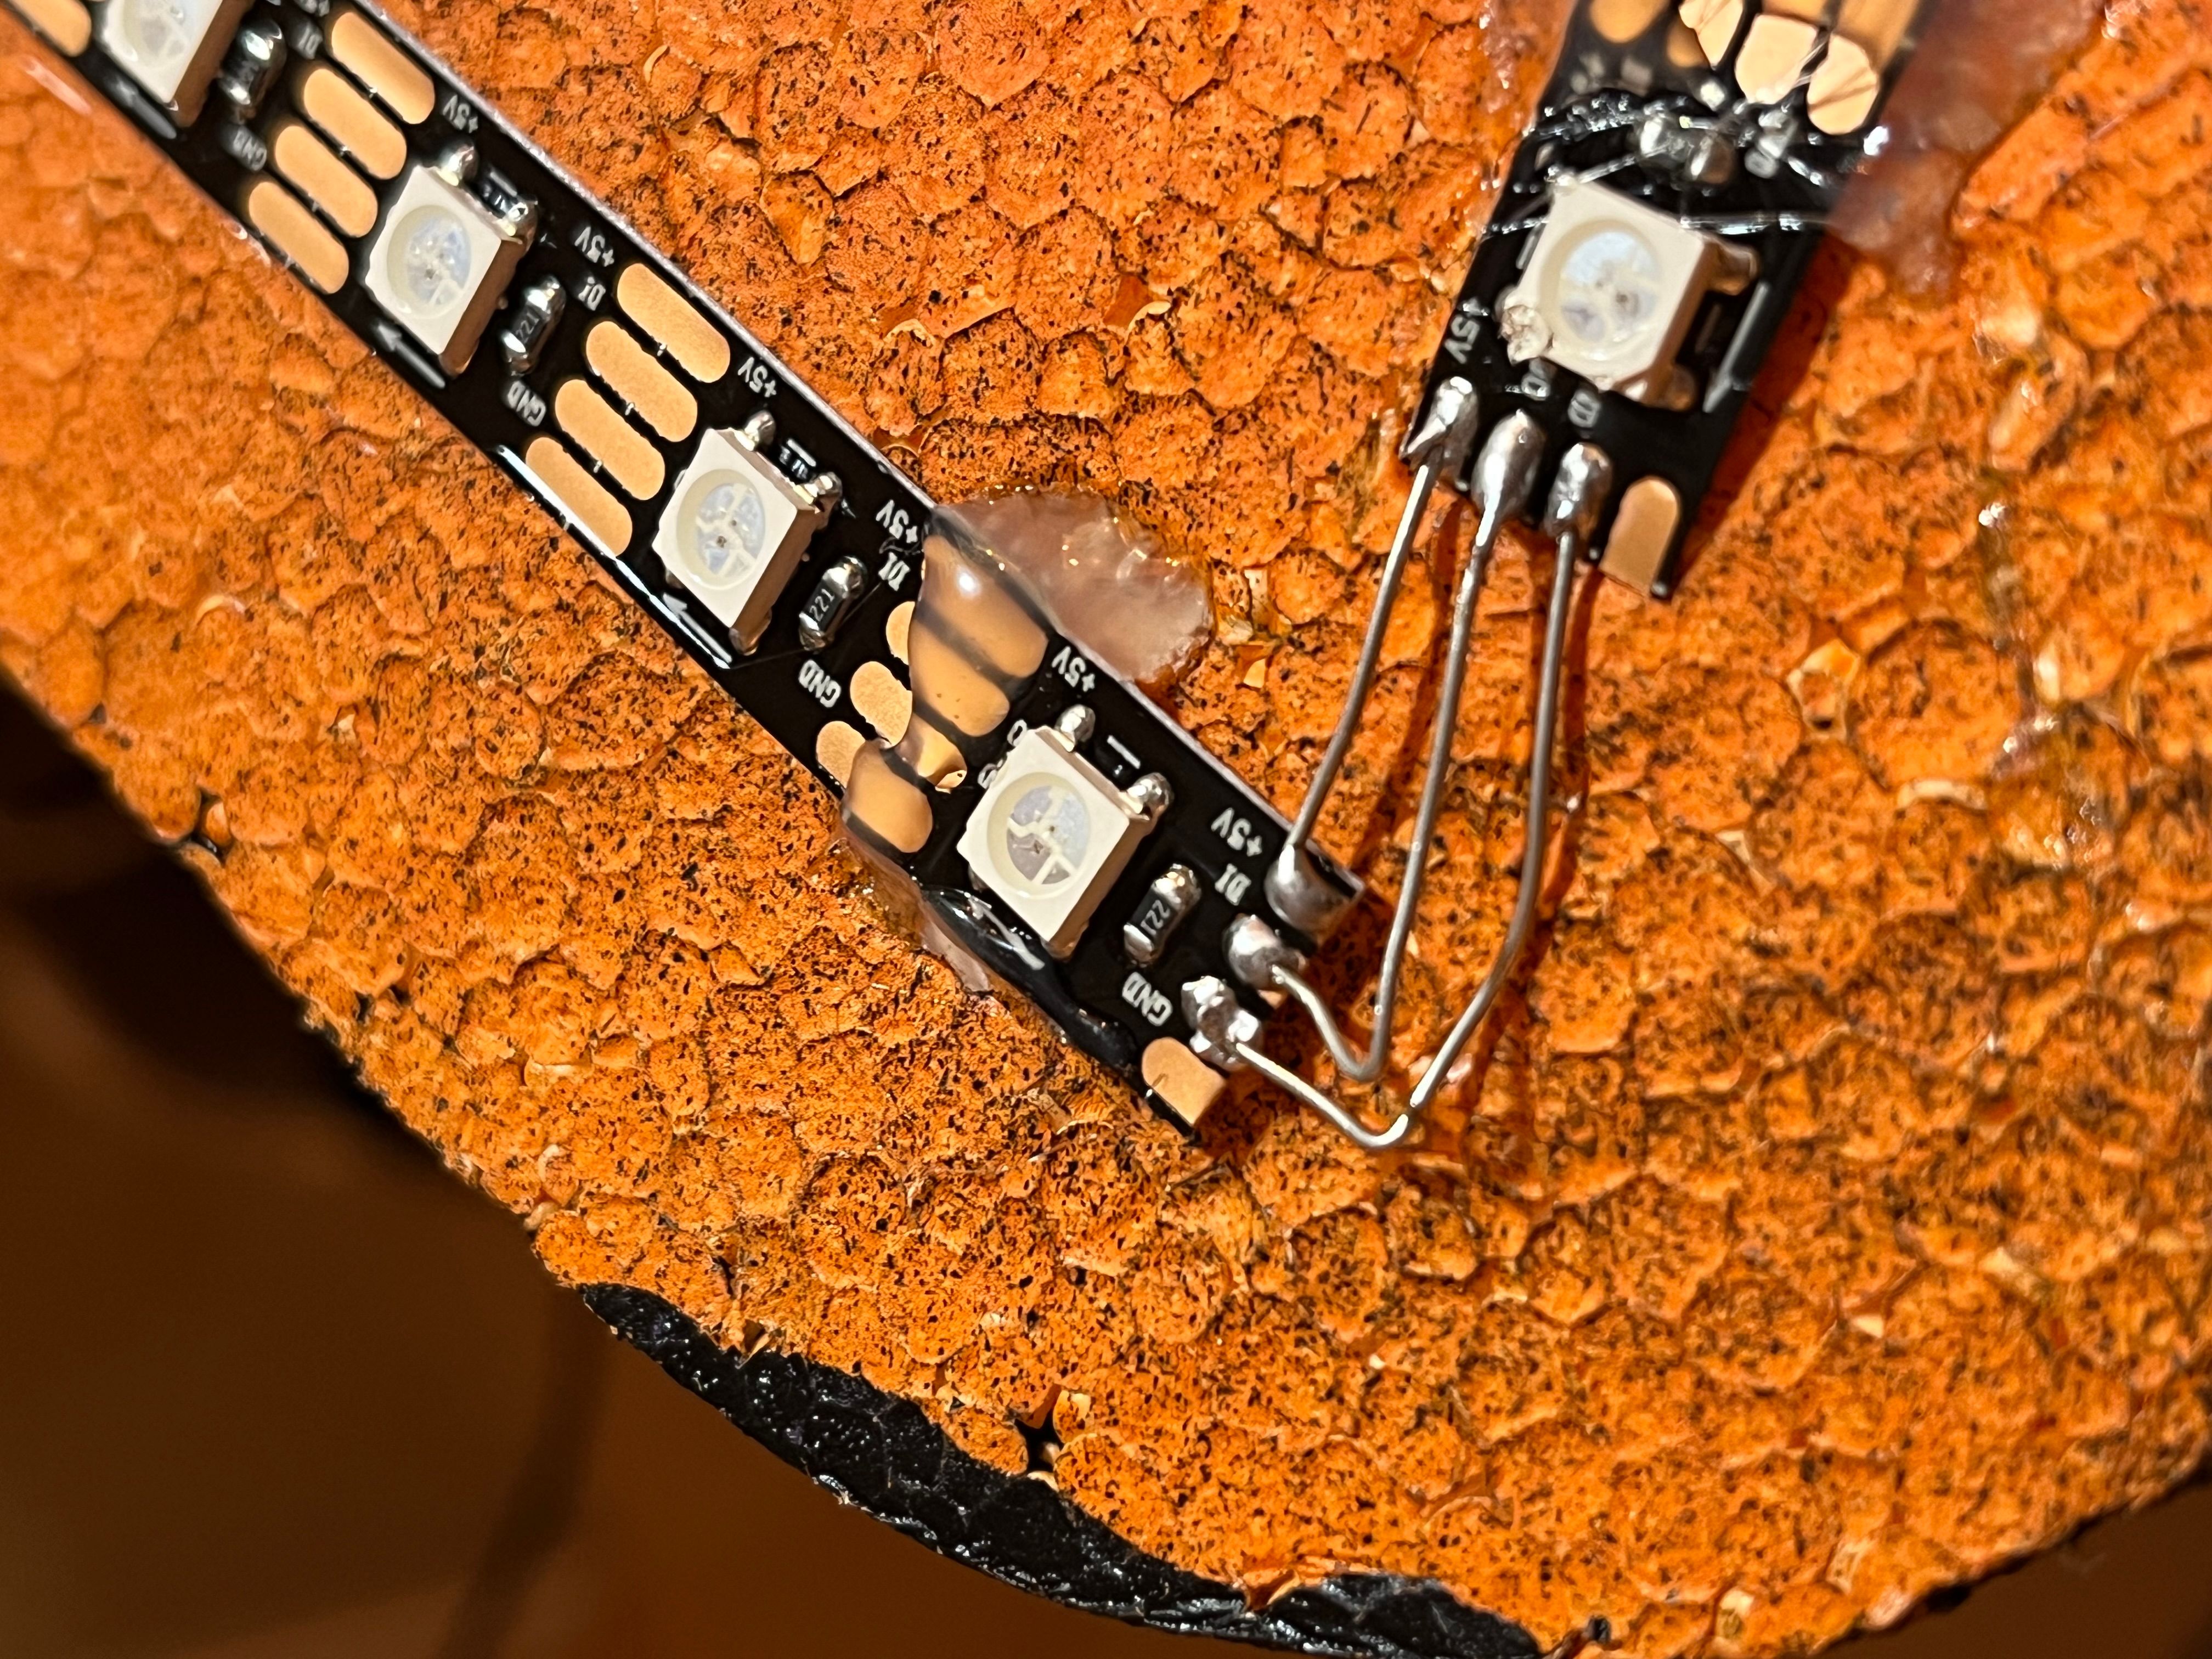
I then manually soldered all the connections between the cut strips. It took a bit of time to figure out how to do it properly, but once I got into the flow it went pretty fast. I had a lot of fun soldering! 😍 This whole process of installing the LED strip took me around 2 hours.
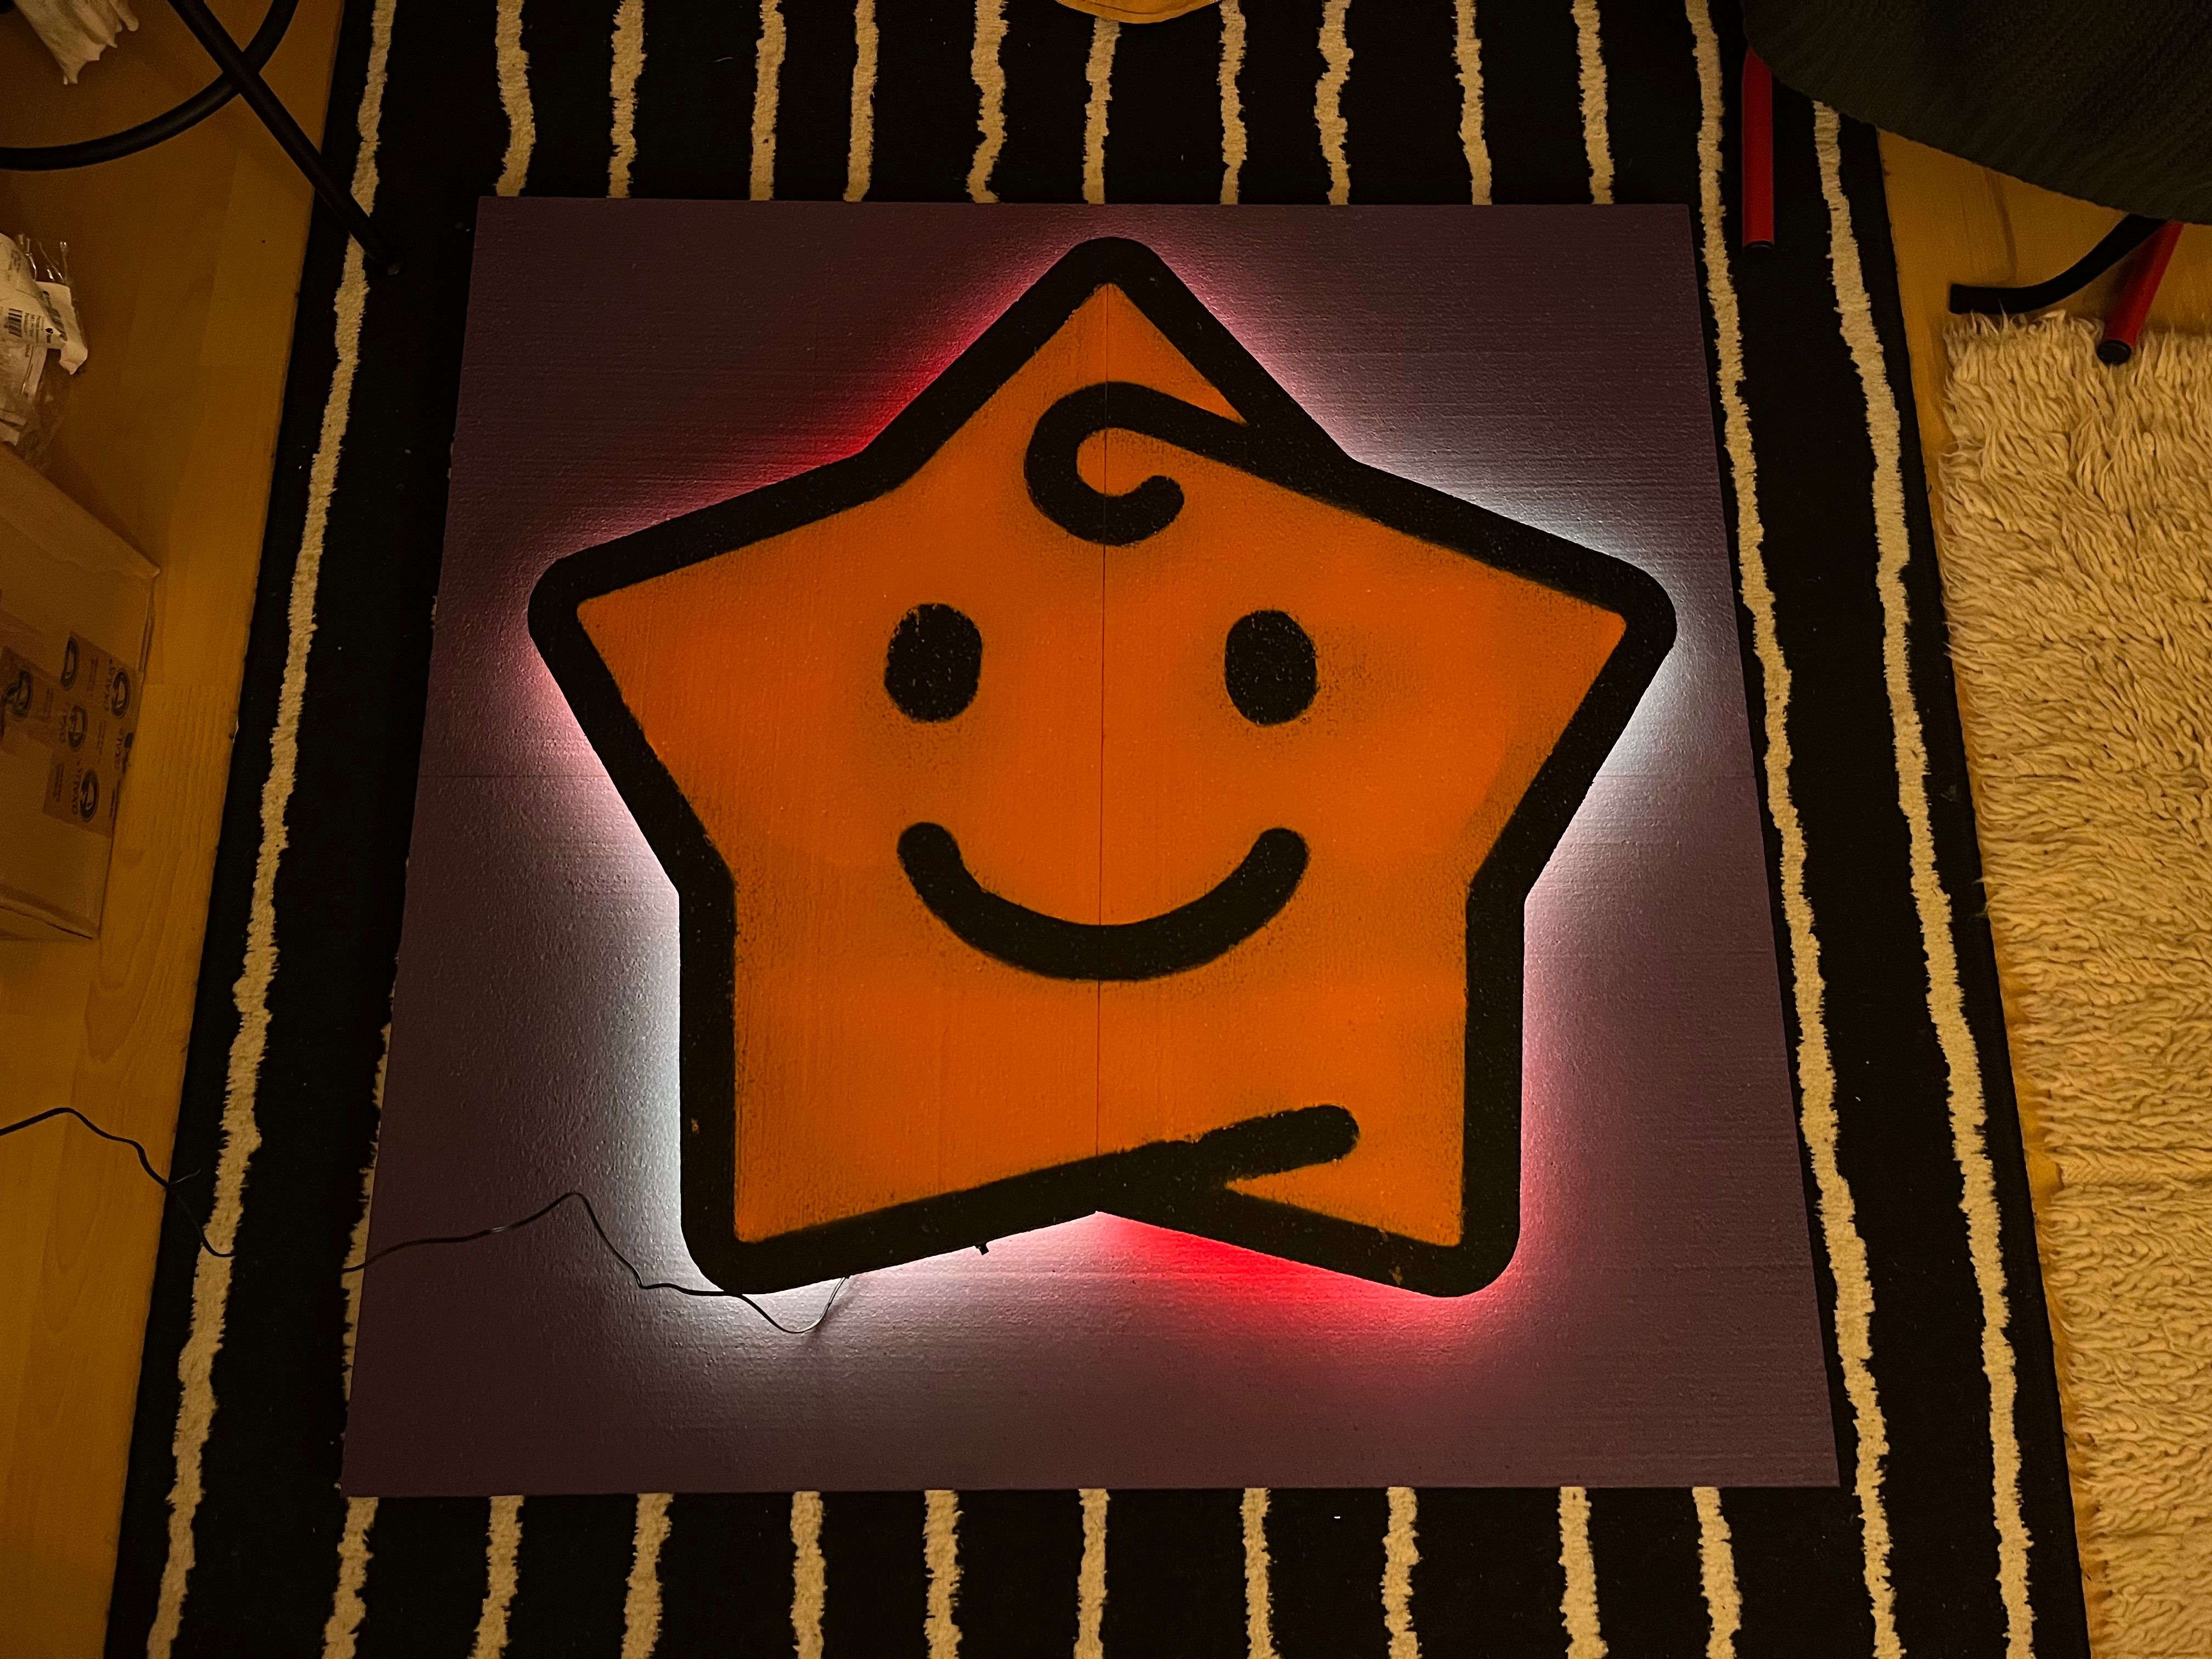
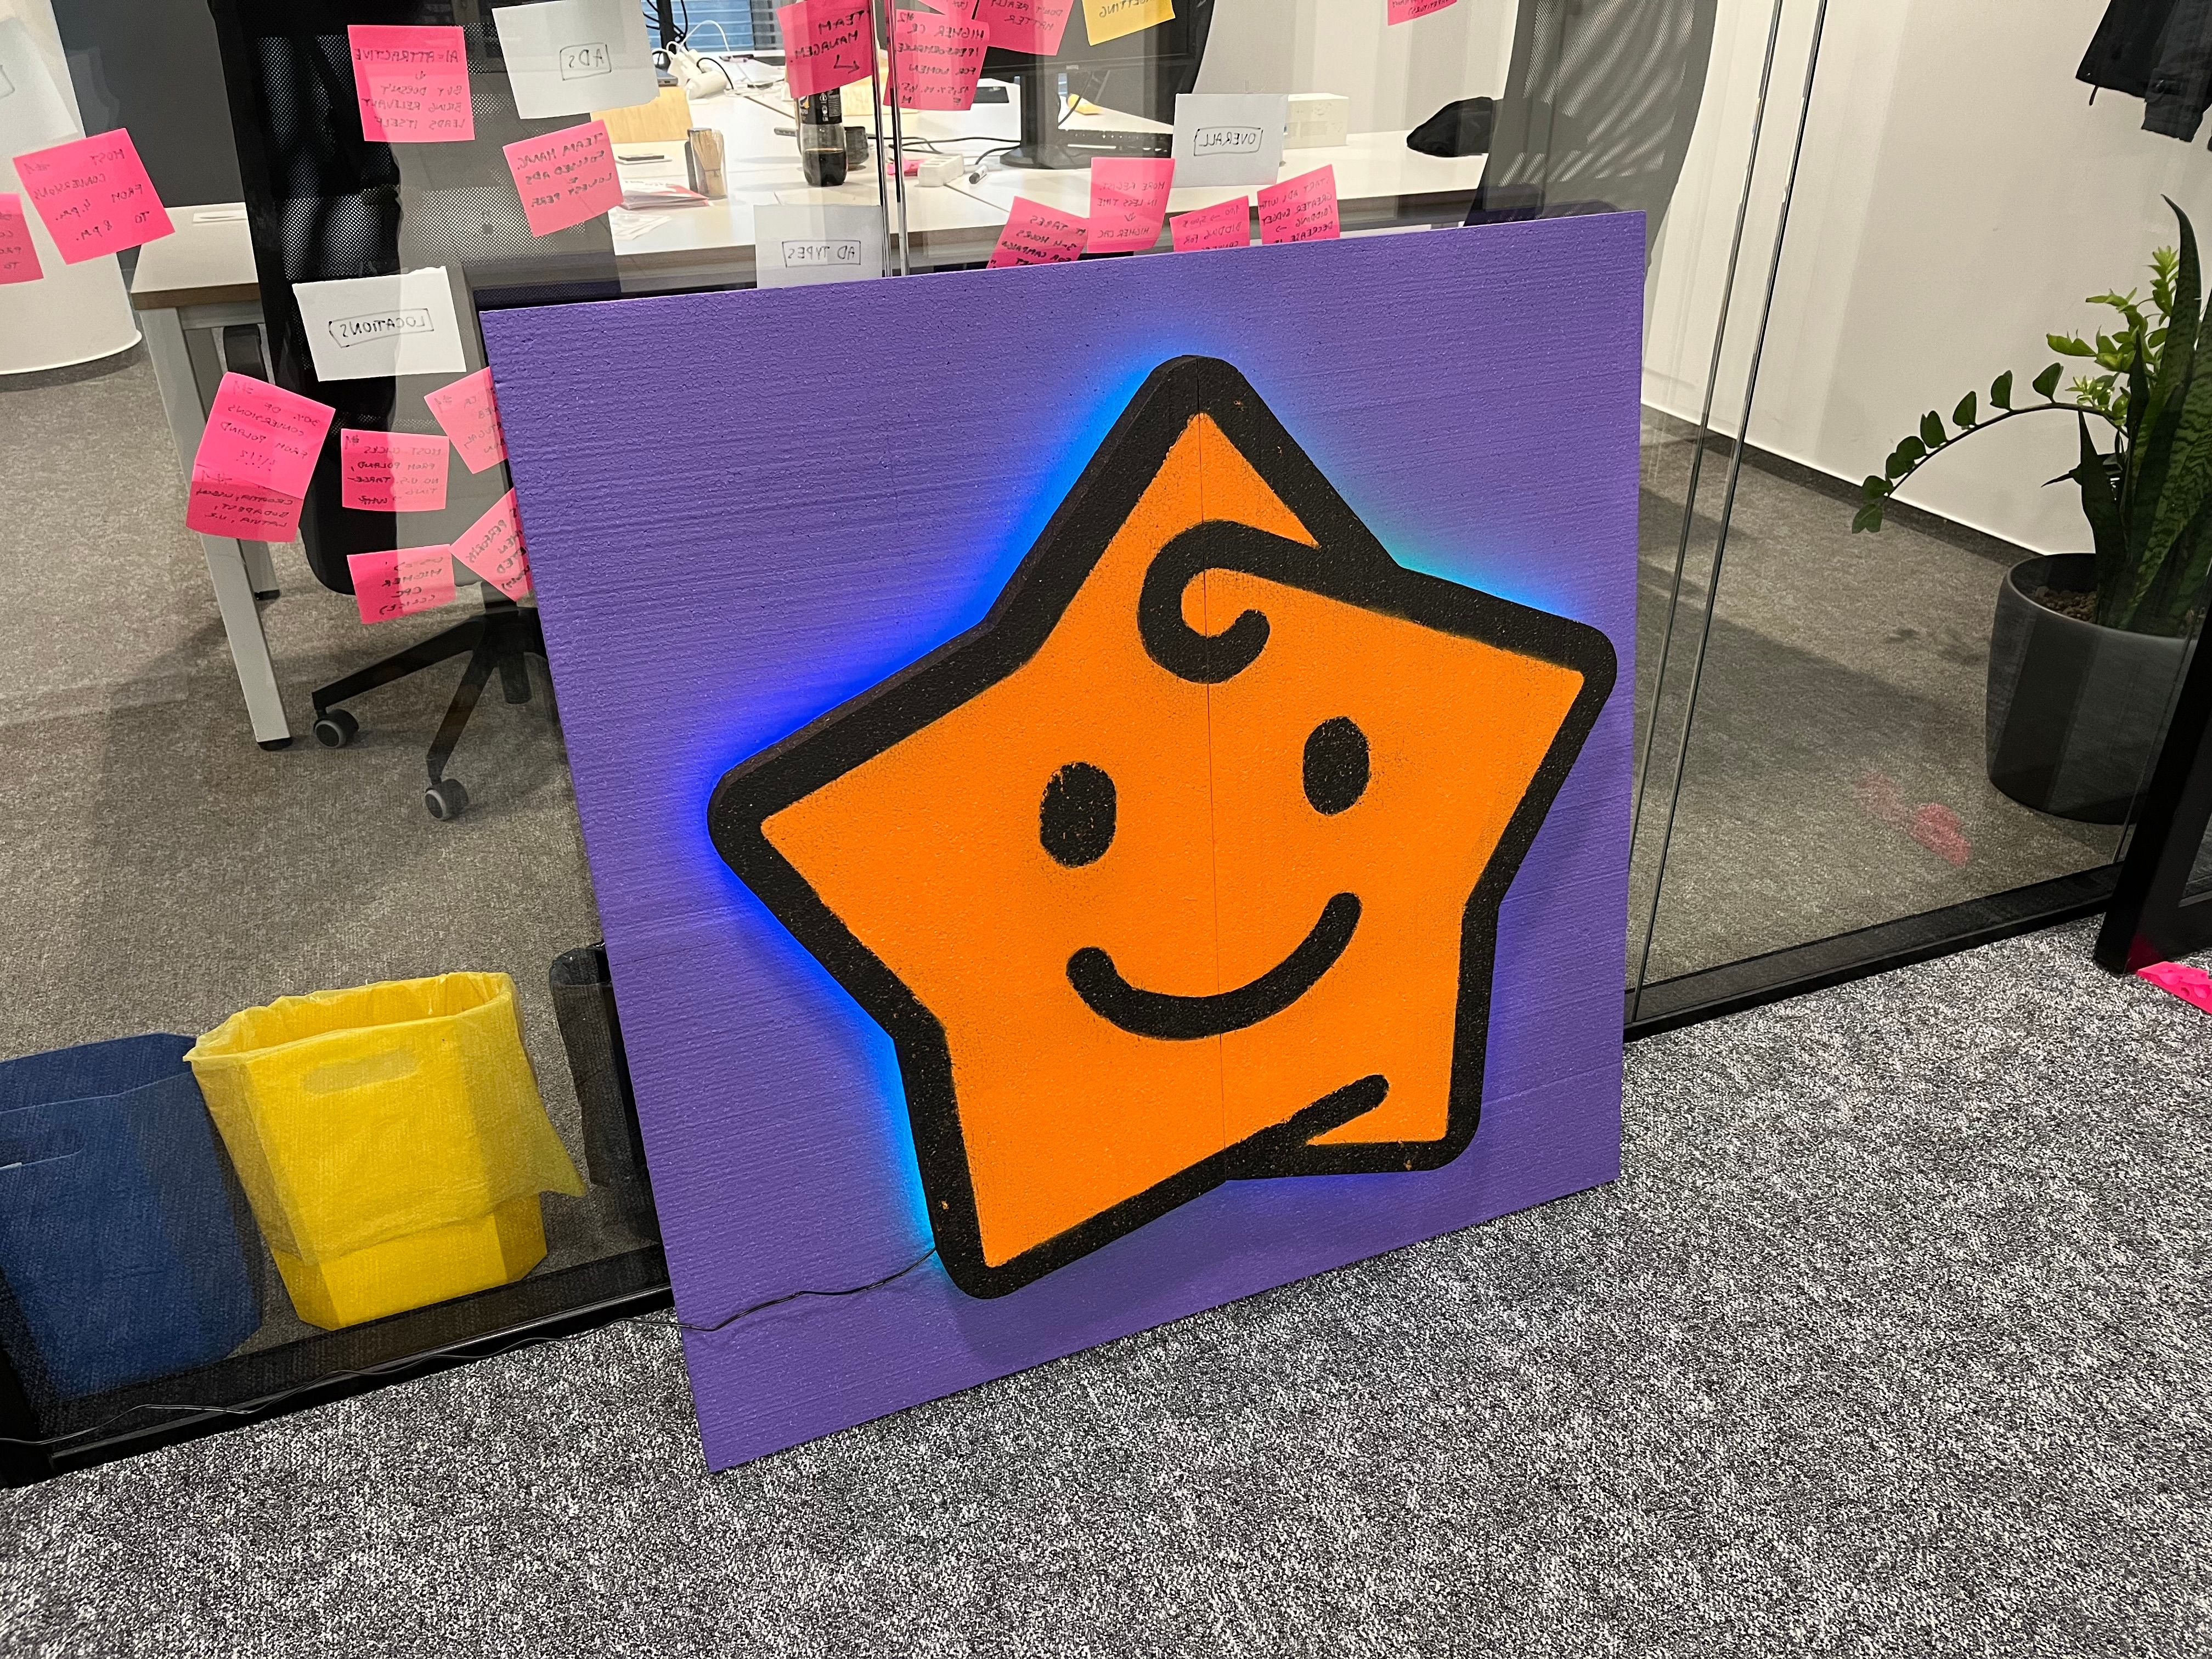
Final result — the LEDs are a little too dark. They are barely visible unless it’s dark around. 🤷 Oh well, no time to fix that anymore since I glued everything together permanently. On the next project, I’ll think of maybe using more LEDs, using brighter LEDs, moving them closer to the edge, or using a more light-colored background piece.
I would like to thank
for the opportunity to work on this project. I learned a lot and I had a ton of fun! 💪
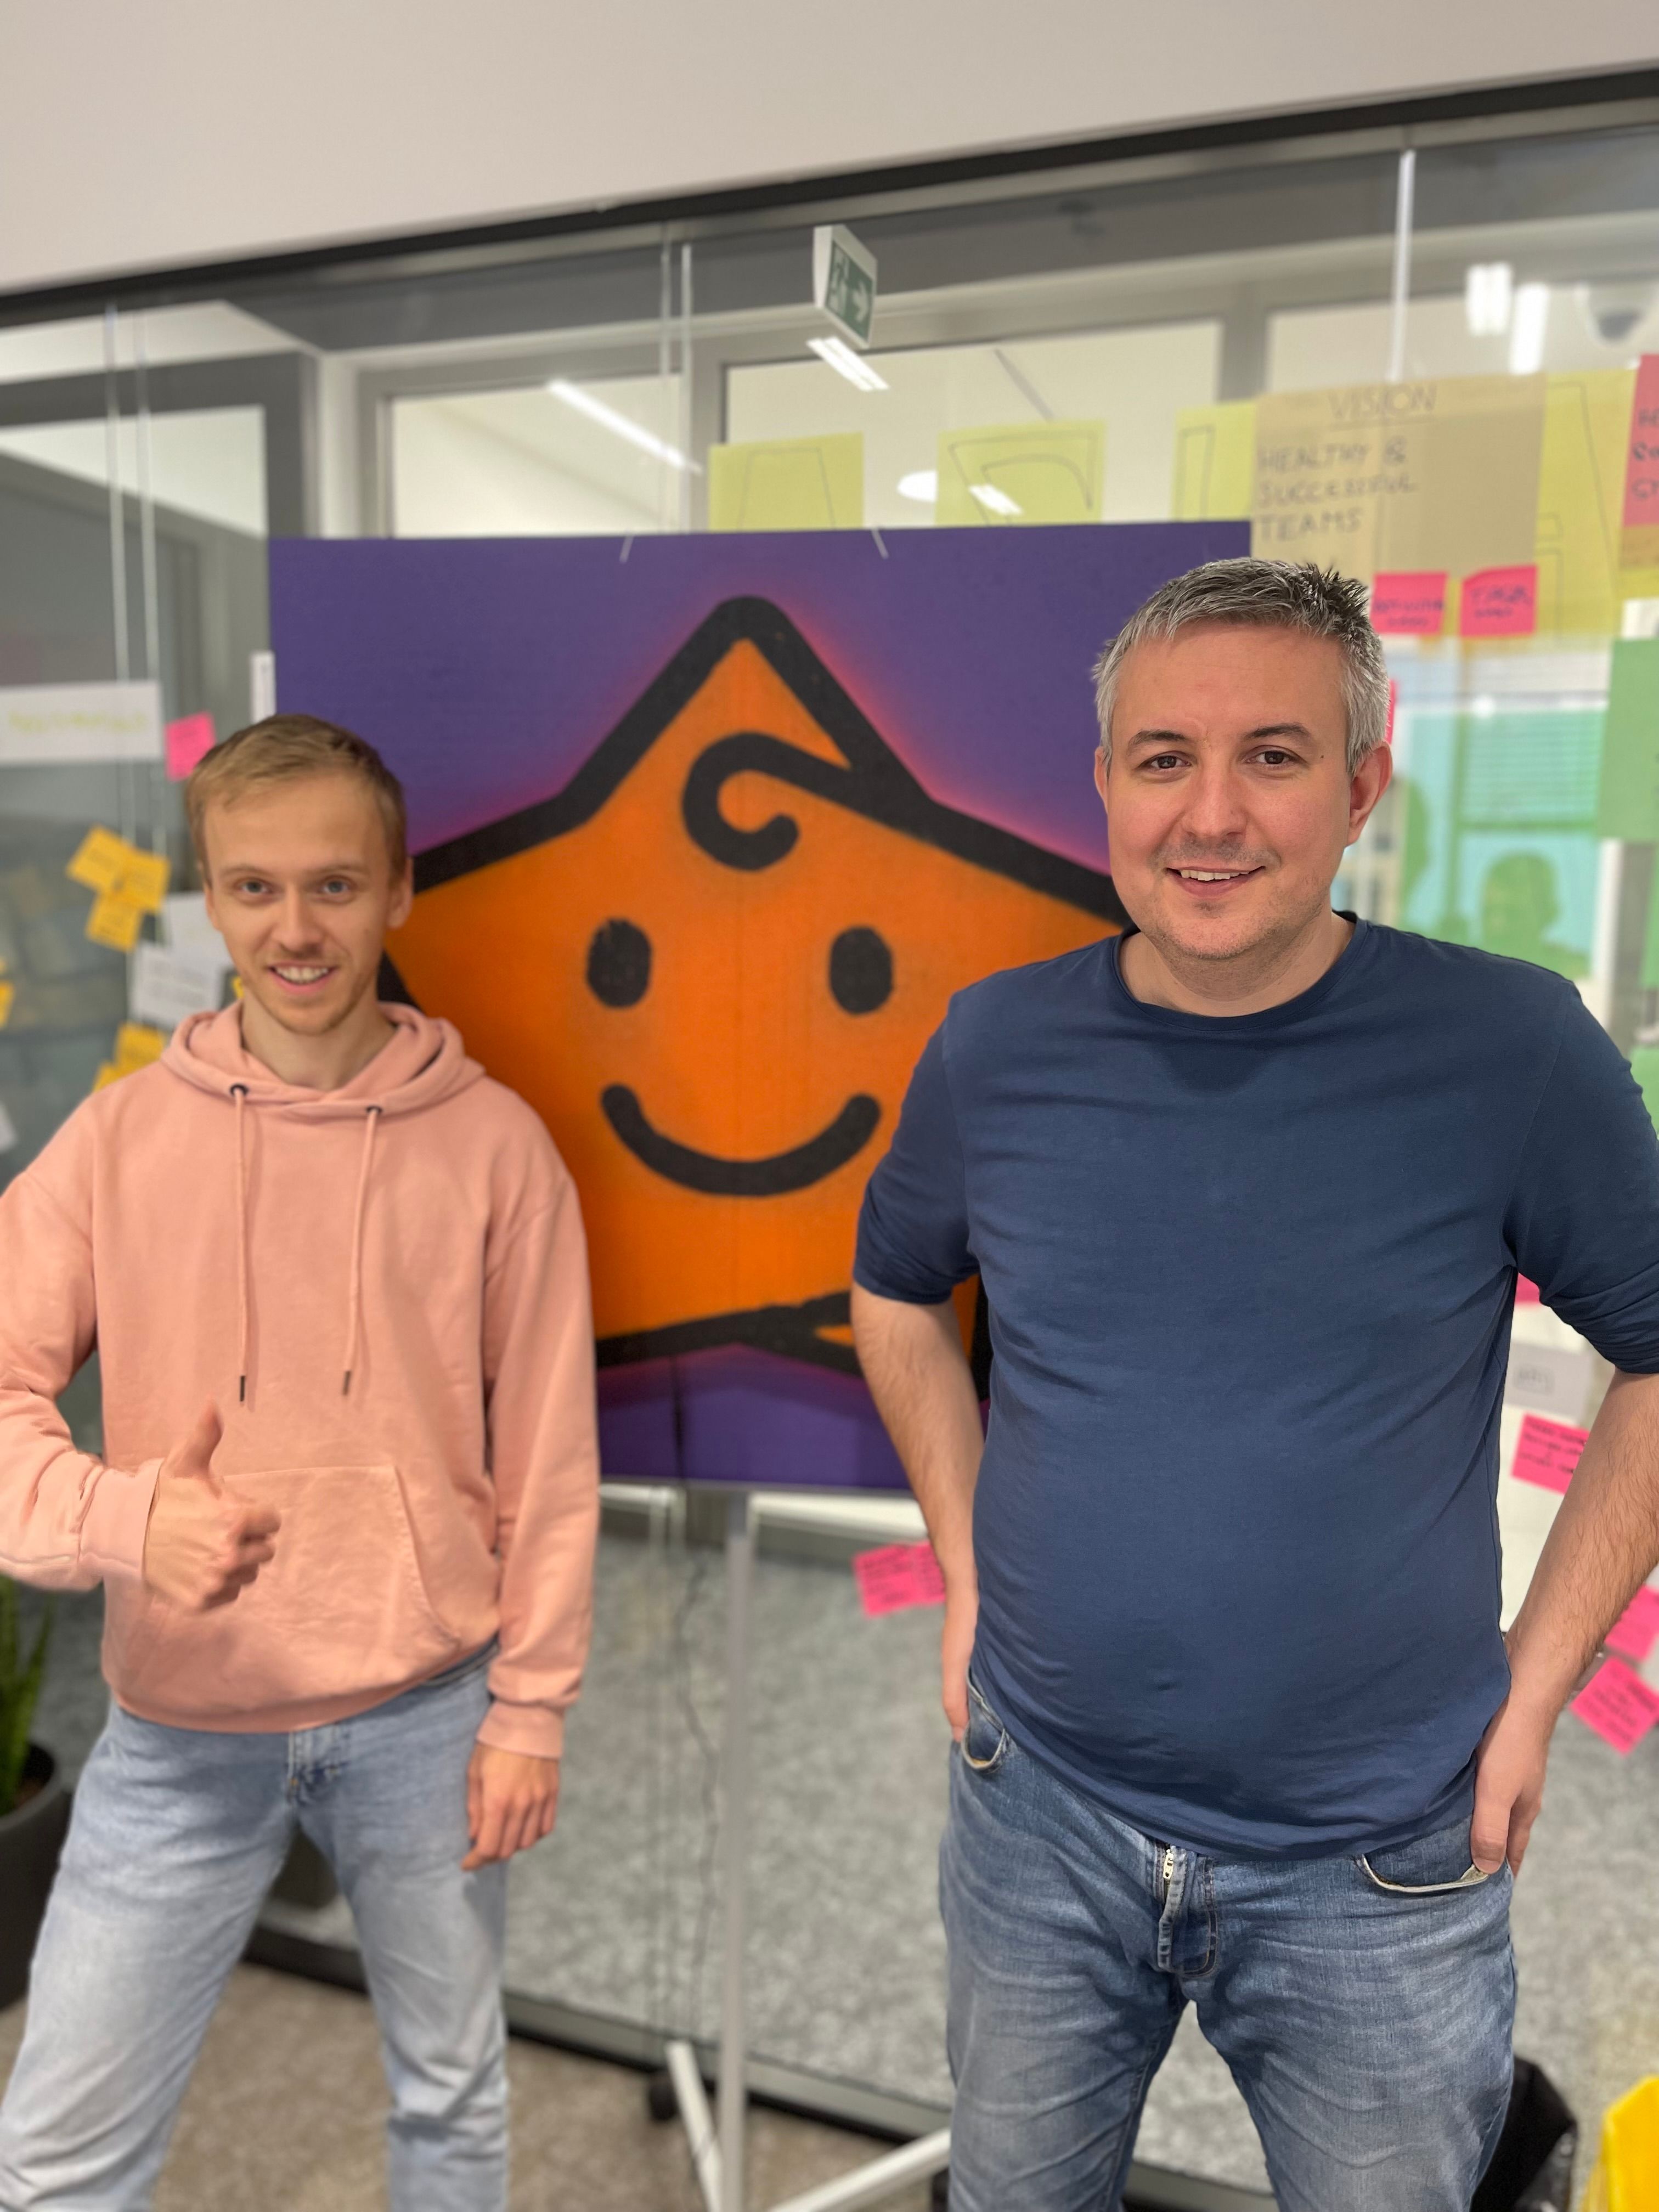
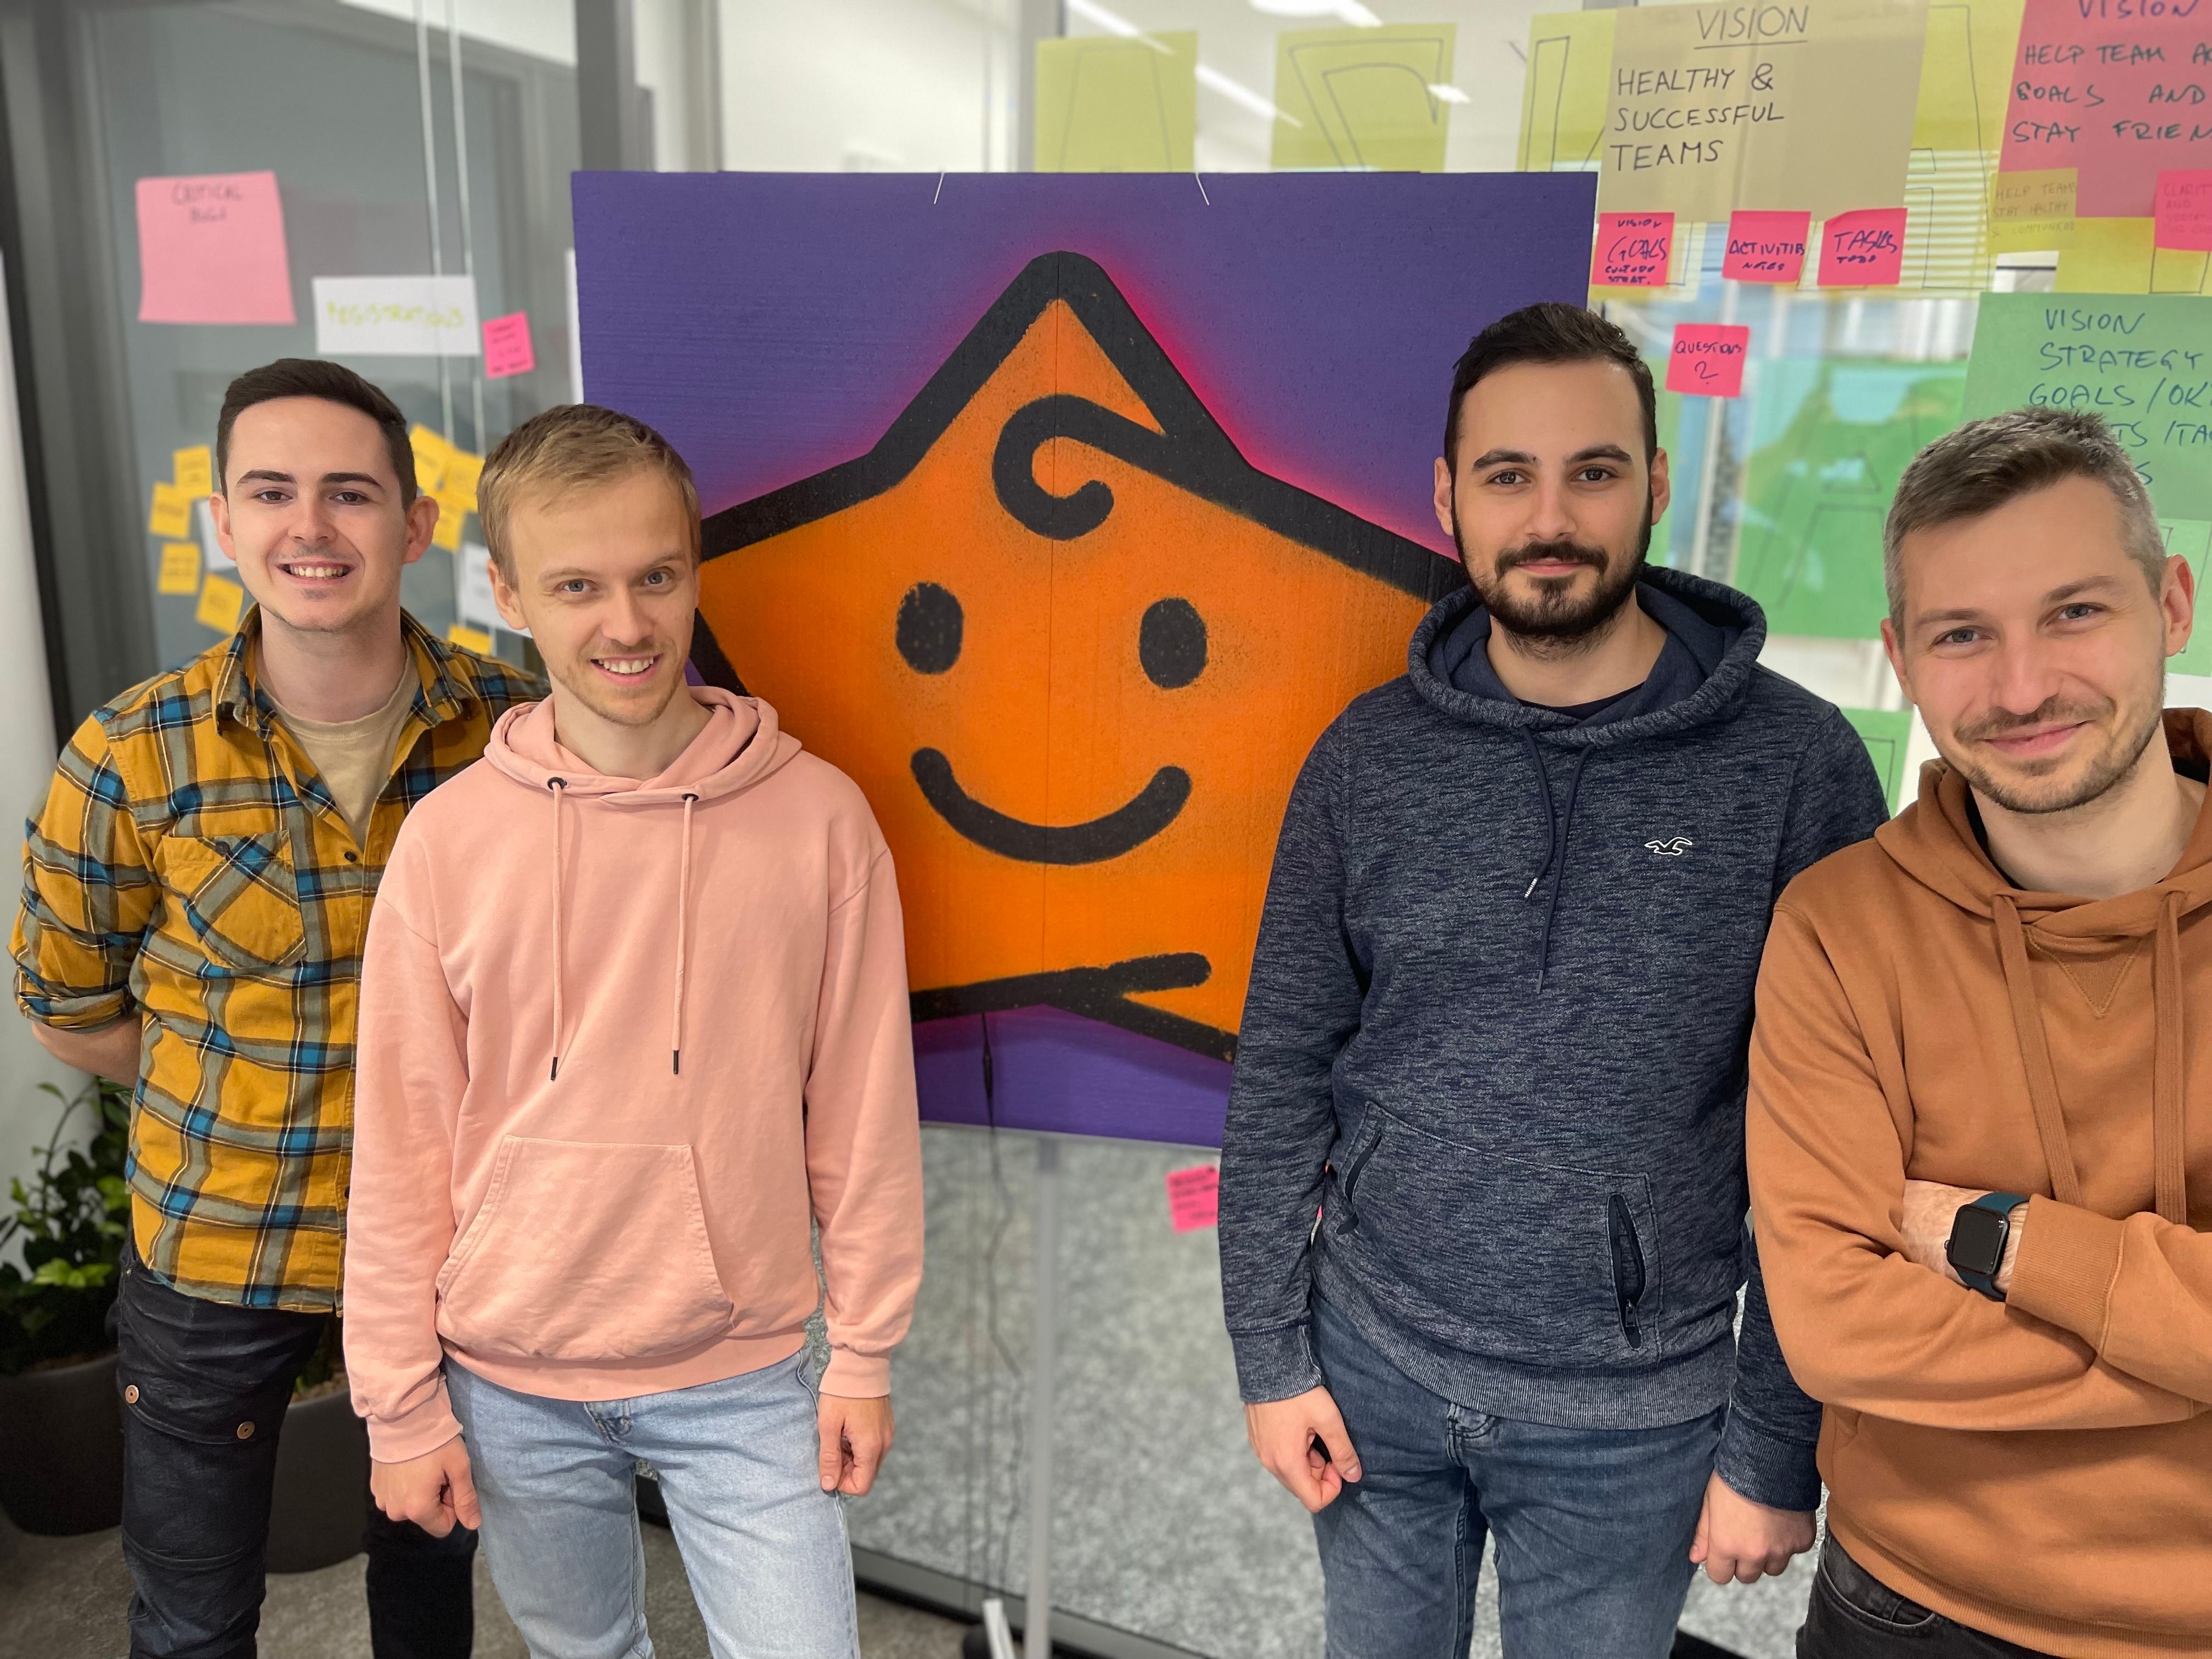
Here is the final poster hung up in the office.